

Obsidian can be overwhelming. It is so simple, yet so complex.
Obsidian’s lack of inherent structure scares away a lot of potential users. Because they don’t know where to start.
But if you are already into the Obsidian’s Knowledge management world, this article is for you.
In this article, we’ll talk about some of the best tips and tricks that will make you feel like an Obsidian Ninja.
With these tips, you will be able to navigate your knowledge base like a pro.
Let’s dive in.
Multi-cursor editing
With Obsidian, you can edit text in multiple places at the same time using multiple cursors. You can add an additional cursor by holding the Option Key and selecting the position in the note.
If you are on Windows, you will press the Alt key.
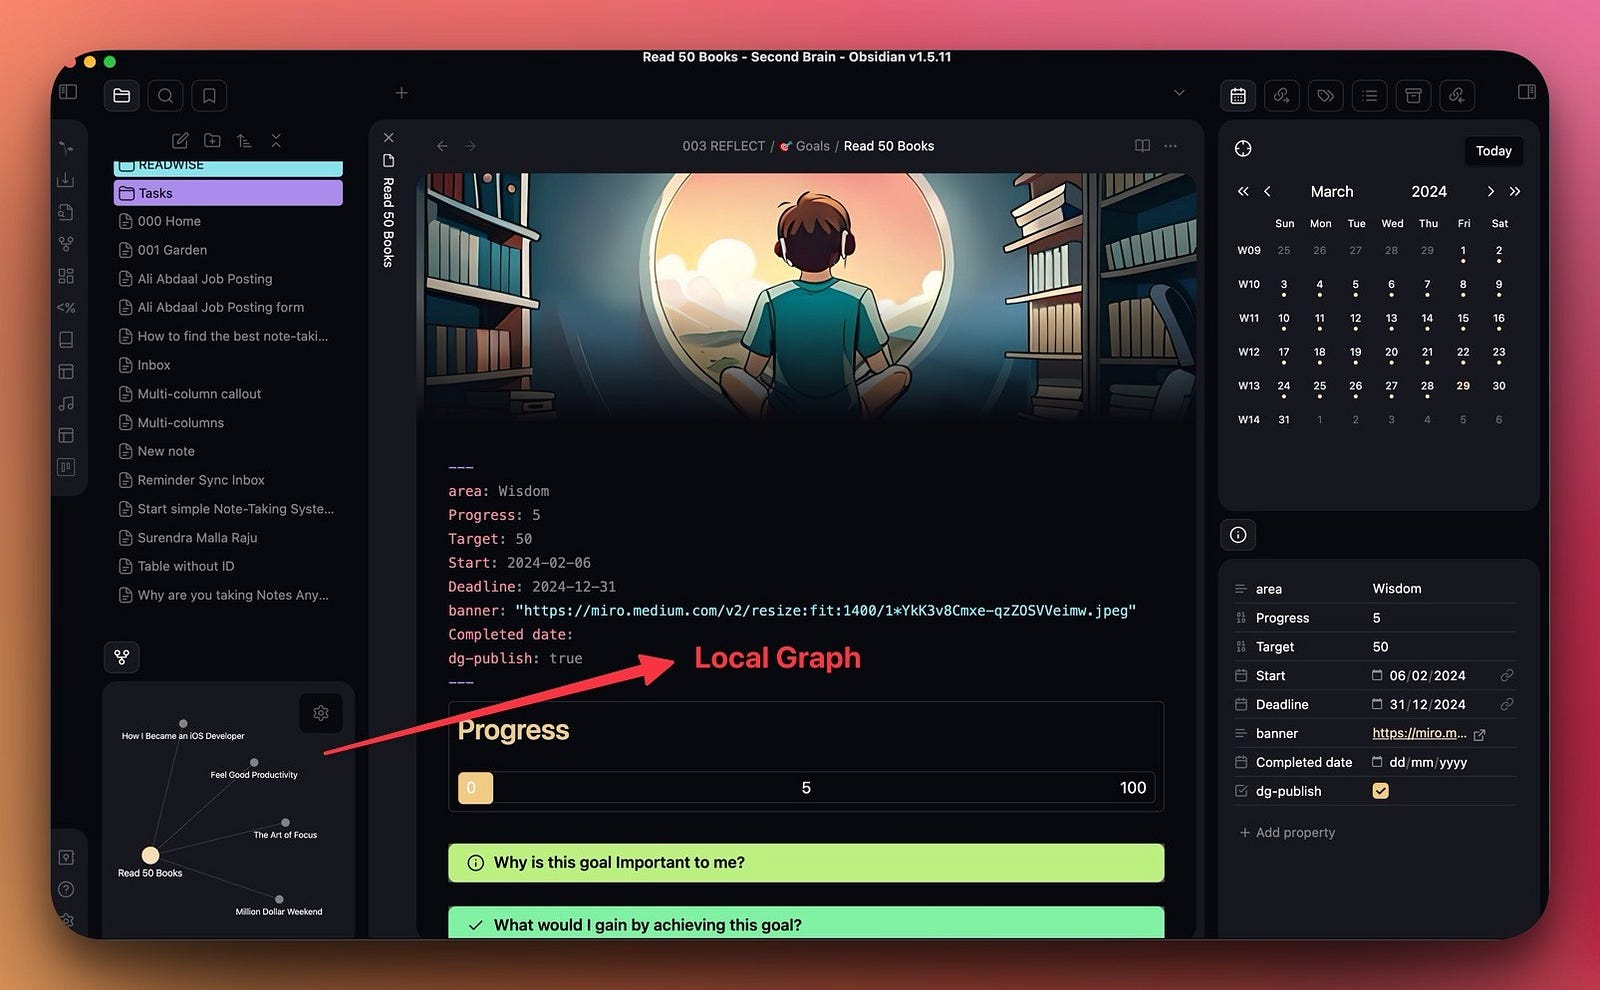
Add a local graph to the sidebar
Local graph can be used to view the links between different notes. Instead of displaying all links in your vault, it displays the links to the currently open note.
You can open a local graph from the command palette and drag it down to the sidebar. This way, you can easily view the connections between different notes.
Keep panes open by pinning them
When you pin a note, it will not be replaced by another note, unless you unpin it. Even when you click on a note, it will open in a new tab.
It can be useful to pin a note in many cases.
You can pin and unpin note from the command palette using ‘Toggle Pin’ option.
Pin a note to the sidebar
You can drag a note to the sidebar and pin it for even easier access. For e.g. you can create a note with navigational links around your vault, and pin it to the sidebar.
This permanently fixes the location of your note to the sidebar.
Create a New Note in a New Tab
If you want to create a new note in a new tab instead of replacing the same tab, this will help.
You can use the hotkey, or you can also go to the command palette.
If you want to create a new note from an existing link, use ⌘ + click.
Using Hotkeys: The Holy Grail
I find most of the things can be done in Obsidian with Hotkey. You can assign a hotkey to almost all functions. And this is such a lifesaver. You don’t have to waste time on the repetitive things.
For e.g. If you want to create a checkbox item in Obsidian, you’ve to write the Markdown syntax.
- [ ] This is a checboxBut with a hotkey, it’s easier.
I use hotkey to toggle between the checkbox and the list. This makes it 10x faster to create checkboxes.
I’ve assigned hotkeys for the most used function in Obsidian.
You can assign a hotkey easily by going to Settings> Hotkeys.
Some of my most used hotkeys are:
- Shift + Right Arrow = Open right sidebar
- Shift + Left Arrow = Open left sidebar
- Option + Left Arrow = Go backwards
- Option + Right Arrow = Go Forwards
- ⌘ + Shift + M = Move current file to another folder
- ⌘ + Shift + R = Reveal current file in navigation
- ⌘ + Enter = Cycle bullet/checkbox
- ⌘ + W = Close tab
- ⌘ + Shift + T = Undo close tab
- ⌘ + E = Toggle Editing/ Reading Mode
- Option + D = Delete a Note
Slash Commands
Slash command is a better way to use the command palette within the editor.
You can write a slash(/) at the beginning of a line or after any blank space to run the command.
You need to have the slash plugin enabled for this to function.

Create Workspaces
Just like slash commands, workspace is another core plugin to enhance your Obsidian experience.
It allows you to create a sort of template for different working environments. You can save and switch between different layouts depending on what you are doing at the moment.
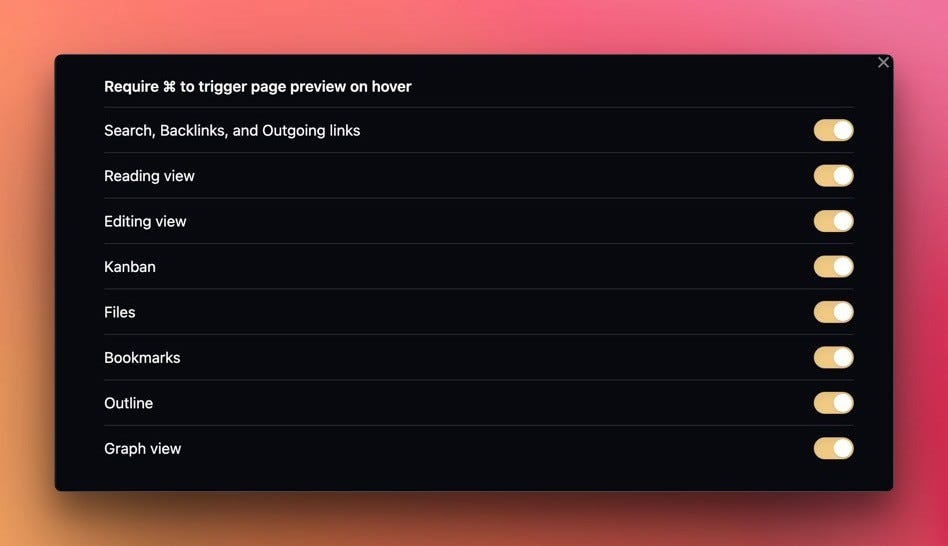
Preview a Link
This is another core plugin. This plugin allows you to preview the content of the link without opening the note.
Hold ⌘, and hover over a link to quickly preview the link.
Adding Images From Clipboard
You can add images to your vault directly from the clipboard.
When you do so, the image will be embedded in your note, and it will be stored in the attachments folder.
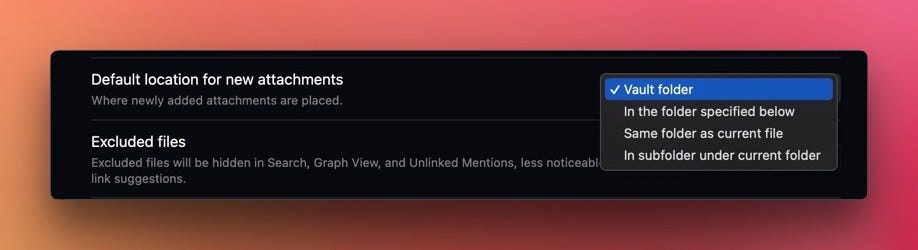
You can set the default location for the attachments from settings> File and links> Default location for new attachments.
Another thing you can do with images is, save them to the cloud.
I don’t like having images inside my vault. So all the images are uploaded to Imgur, and embedded in the note.
You can easily do so via the Imgur plugin available in the community store.
Image Width
If you use a lot of images in your vault and want to maintain consistency in how they show up, you can set it up as well.
You can specify the width of the image like this:![[Smallimage.jpg|100]]
Drag-n-Drop Files
Just like adding images from the clipboard, you can also drag and drop files in Obsidian.
There are two ways you can do so.
First is by adding the attachment to the Obsidian app itself.
Just drag the attachment to your note.
This will create an embedded link to that attachment by placing that file inside the configured attachments folder.
The next is by creating an absolute link to the file. This way, the attachment is not copied to your vault.
This also means that you won’t be able to open that attachment inside your vault.
Instead, the attachment will open with the associated app only.

Notes Always on Top
If you want a certain note to be always at the top level for easier navigation, you can prepend the note title with numbers or Symbols or emojis like:
- 000 Home
- _Home
- 🏠 Home
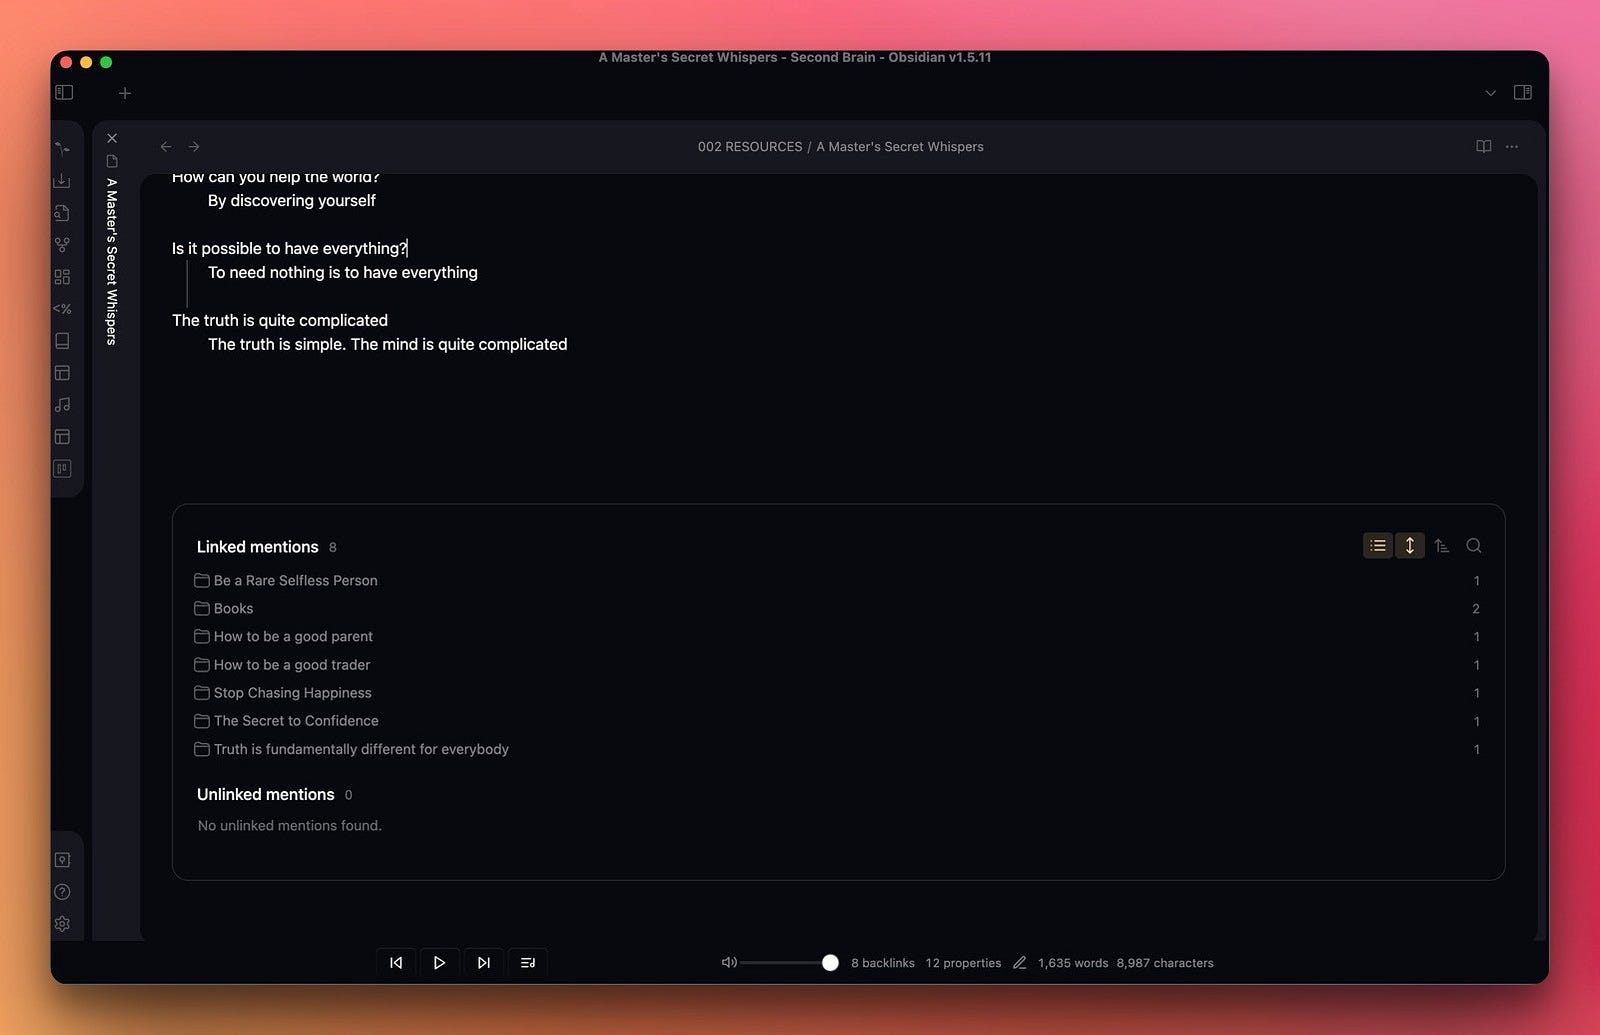
Toggle Backlinks in Document
This will help you to view the backlinks in the note itself instead of the side pane. You can go to the command palette, and toggle backlinks in the note option.
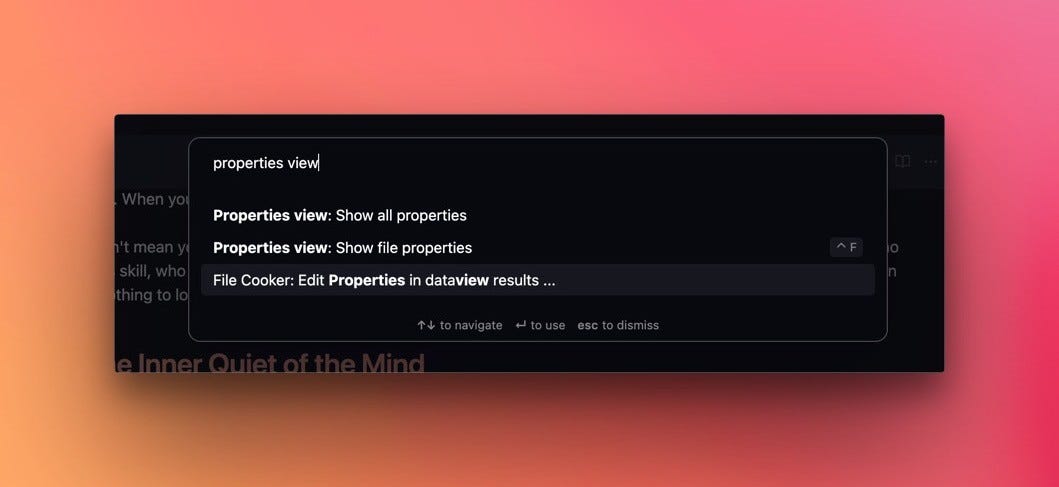
Better Properties view
This creates better-looking notes, at least for me. Disable the properties view. And enable the show file properties from the command palette.
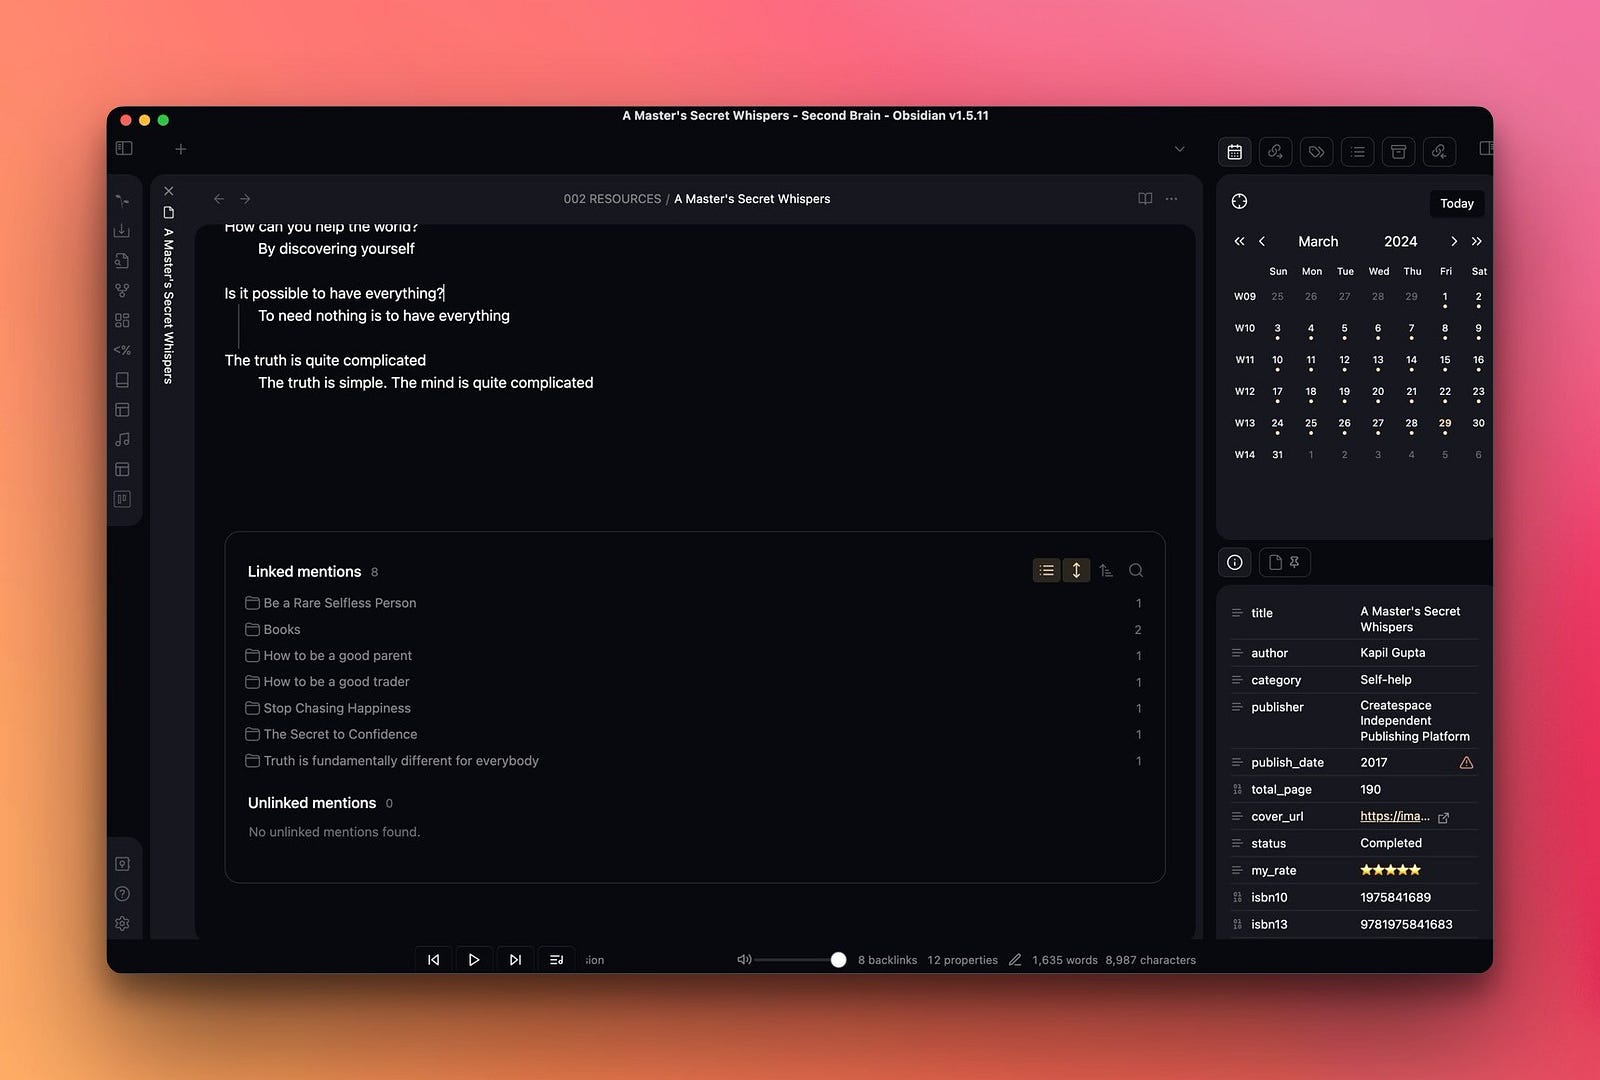
Go to Settings> Editor> Properties in Document. Make it hidden.
Enable the Properties view plugin if you haven’t already.
You can then drag the properties pane to the bottom side to make it always visible.
Cool! Right?
These were some tips and tricks to help you improve your Obsidian Experience. I hope you found them valuable.
If you found this valuable, you’d love Obsidian Ninja Newsletter.


